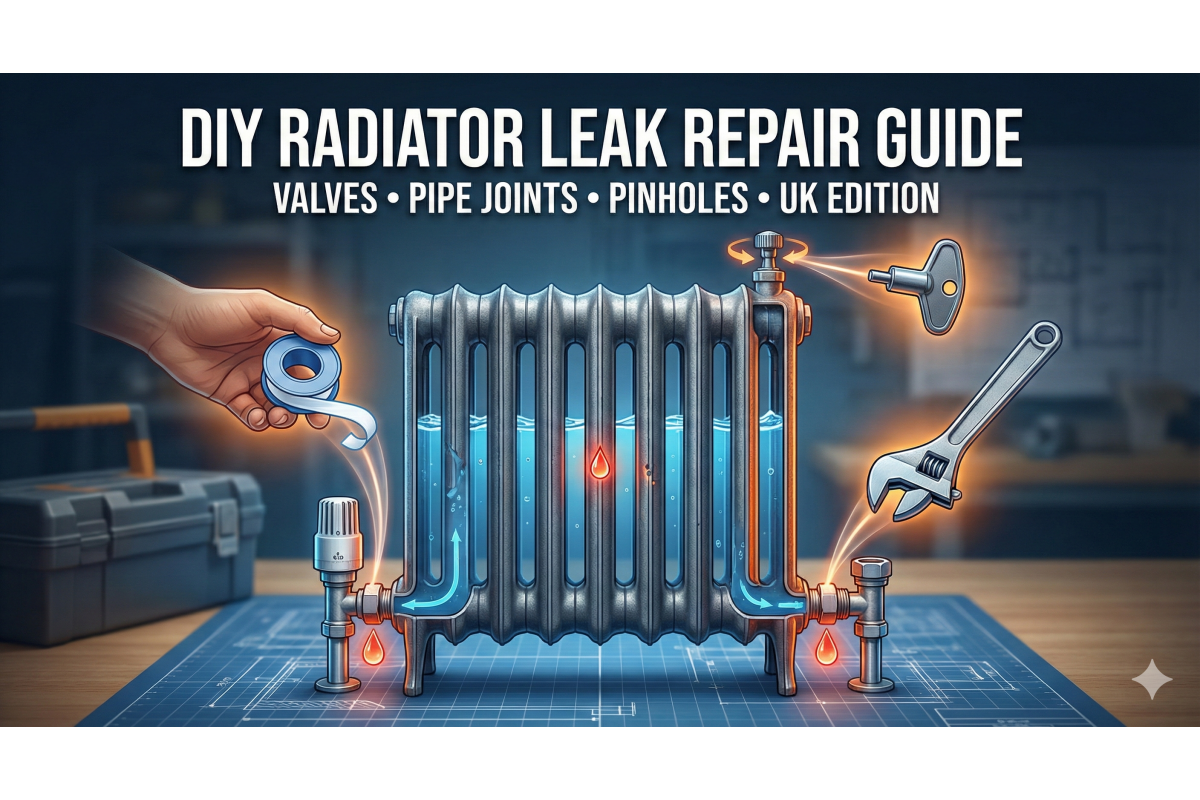
How to Fix a Leaking Radiator: The Budget Radiator's Step-by-Step Repair Guide
However, you don't always need to call an emergency plumber. Many common radiator problems, from a leaking radiator valve to a dripping pipe joint, can be fixed with a few basic tools and a bit of know-how.
In this in-depth guide for Budget Radiators, we will walk you through exactly how to fix a leaking radiator, identify when a repair is possible, and when it is time to replace the unit entirely.
Table of Contents
- Safety First: Preparation
- Tools You Will Need
- How to Find the Source of the Leak
- Scenario 1: Fixing a Leaking Radiator Valve
- Scenario 2: Leaks from the Pipe Joint (Union Nut)
- Scenario 3: Pinhole Leaks and Corrosion
- Scenario 4: Leaking Bleed Valve or Air Vent
- Prevention: Inhibitors and Maintenance
- Frequently Asked Questions
Before You Start: Safety First
Central heating systems contain very hot water under pressure. Before you attempt any DIY radiator repairs, follow these safety steps:
- Turn off the heating: Ensure the boiler is off and the pump has stopped running.
- Let it cool: Wait at least an hour for the water in the radiators to cool down to avoid scalding.
- Protect the area: Place old towels and a bucket or tray underneath the leaking area to catch the water. Radiator water is often black and dirty due to iron oxide (rust).
Tools You Will Need
You probably have most of these items in your toolbox already:
- Adjustable Spanner (or a pair of grips)
- Radiator Bleed Key
- PTFE Tape (also known as Plumber's Tape – essential for creating watertight seals)
- Dry Cloths / Kitchen Roll
- Bucket or Bowl
- Hex Key (Allen Key) – required for some modern designer radiator valves.
Step 1: Identify the Source of the Leak
Water travels, so where the drip lands isn't always where the leak started. To fix the problem effectively, you need to pinpoint the source.
Take a piece of kitchen roll and dry the entire radiator thoroughly. Once dry, check these four common areas:
- The Valve Spindle: This is under the plastic cap of the valve.
- The Union Nut: The large nut connecting the valve to the radiator.
- The Pipe Connection: The nut connecting the copper or plastic pipe coming from the floor/wall to the valve.
- The Radiator Body: Look for rust spots or pinholes on the metal panels themselves.
Scenario 1: How to Fix a Leaking Radiator Valve
This is the most common cause of leaks. If water is pooling at the base of the plastic valve cap, the issue is likely the gland nut or the spindle seal.
Method A: Tightening the Gland Nut
Often, the gland nut has simply worked loose over years of heating and cooling cycles.
- Remove the plastic cap from the valve (pull it off or unscrew it).
- Locate the gland nut. This is the small hexagonal nut sitting directly below the turning spindle.
- Using your adjustable spanner, turn the nut clockwise (righty-tighty) slightly.
- Warning: Do not over-tighten! Just "nip it up" until you feel resistance.
- Dry the area and watch for fresh drops.
Method B: Repacking with PTFE Tape
If tightening doesn't stop the radiator valve leak, the internal seal (O-ring) may be worn. You can create a new seal using PTFE tape.
- Turn off both valves (the TRV and the Lockshield) to isolate the radiator from the system.
- Slacken the gland nut and unscrew it so it rides up the spindle. Do not remove it completely.
- Take a length of PTFE tape and wrap it tightly around the spindle shaft, just below where the nut sits.
- Use a small flat-head screwdriver to push the tape down into the valve body.
- Screw the gland nut back down over the tape and tighten it. The PTFE tape acts as a fresh packing seal.
Note: If the valve continues to leak, it is faulty and needs replacing. Browse our range of replacement radiator valves here.
Scenario 2: Leaks from the Pipe Joint (Union Nut)
If the leak is coming from the connection where the valve meets the radiator, the issue is usually with the "Union Nut" or the compression fitting.
The Quick Fix
Simply use your spanner to tighten the large union nut. Be careful—if the radiator is old and rusty, applying too much force can crack the metal. Support the valve with a second pair of grips while you turn the nut.
The Advanced Fix (Replacing the Olive)
If tightening fails, the olive (the brass ring inside the joint) or the threads may be damaged.
- You will need to drain the radiator below the level of the leak.
- Undo the nut completely and pull the valve away from the radiator tail.
- Wrap PTFE tape around the olive (if it's on the pipe) or the threads of the radiator tail.
- Reconnect and tighten firmly.
Scenario 3: Pinhole Leaks and Radiator Corrosion
If you find a wet patch in the middle of the radiator panel, or a rusty spot at the bottom edge that is weeping water, you have a pinhole leak.
What causes pinhole leaks?
These are caused by internal corrosion. When the protective inhibitor in your central heating system breaks down, the water reacts with the steel radiator, creating sludge and rust. Eventually, this rust eats through the metal from the inside out.
Can I fix a pinhole leak?
You can use a temporary emergency fix, such as:
- Epoxy Putty: A two-part putty that hardens like steel.
- Leak Sealer Additive: A liquid poured into the system to plug small holes internally.
Expert Advice: A pinhole leak is like a cavity in a tooth once you have one, more will follow. A rusted radiator is a ticking time bomb for a burst pipe. The only permanent and safe solution is to replace the radiator.
Ready for an upgrade? Replacing an old panel radiator is easier than you think. Check out our high-efficiency replacements:
Scenario 4: Leaking Bleed Valve
Sometimes, a radiator leaks after bleeding it. If water bubbles out of the air vent even when the screw is tight:
- The internal washer may have perished.
- Isolate the radiator (close both valves).
- Unscrew the bleed plug completely using a spanner.
- Replace it with a standard ½ inch BSP bleed plug (available in our Accessories section).
Prevention: How to Stop Leaks Before They Start
Prevention is always cheaper than a cure (and cheaper than replacing carpets!). To maintain a healthy central heating system:
- Use Inhibitor: Ensure your system is topped up with a chemical inhibitor (brands like Fernox or Sentinel). This fluid coats the inside of your radiators, preventing the reaction that causes rust and pinholes.
- Don't Over-tighten Valves: When installing new radiators, over-tightening compression fittings can crush the copper pipe or split the olive, leading to leaks months later.
- Regular Checks: Inspect your radiator valves once a year, preferably in Autumn before you turn the heating on full-time.
Frequently Asked Questions
Why is my radiator leaking when the heating is off?
This is common. When metal heats up, it expands, which can sometimes seal a small gap temporarily. When the heating cools down (contracts), the gap opens up, and the leak reappears. This is often a sign of a loose gland nut or a worn washer.
Can I use leak sealer in my central heating system?
Yes, internal leak sealers can work for very small weeping joints or minor pinholes. However, they are not a permanent fix for severe corrosion. They can also sometimes gum up pump valves if used incorrectly. Always read the manufacturer's instructions.
How do I fix a leaking towel rail?
Fixing a leaking towel rail is very similar to a standard radiator. However, check the top plugs (blanking plugs). Because towel rails are often filled manually or are "dual fuel", the top seals are a common weak point. Ensure the O-rings on the top plugs are intact and seated correctly.
Is a radiator leak an emergency?
If the leak is a slow drip, you can usually contain it with a bowl and fix it yourself. If water is spraying out or pouring heavily, this is an emergency. Locate your main water stopcock to turn off the water supply to the house and drain the heating system immediately.
Did this guide help you fix your leak? If your radiator is past the point of repair, browse Budget Radiators for the UK’s best prices on high-quality heating, delivered directly to your door.