How to Paint an Old Radiator So It Doesn't Peel When the Heating Comes On
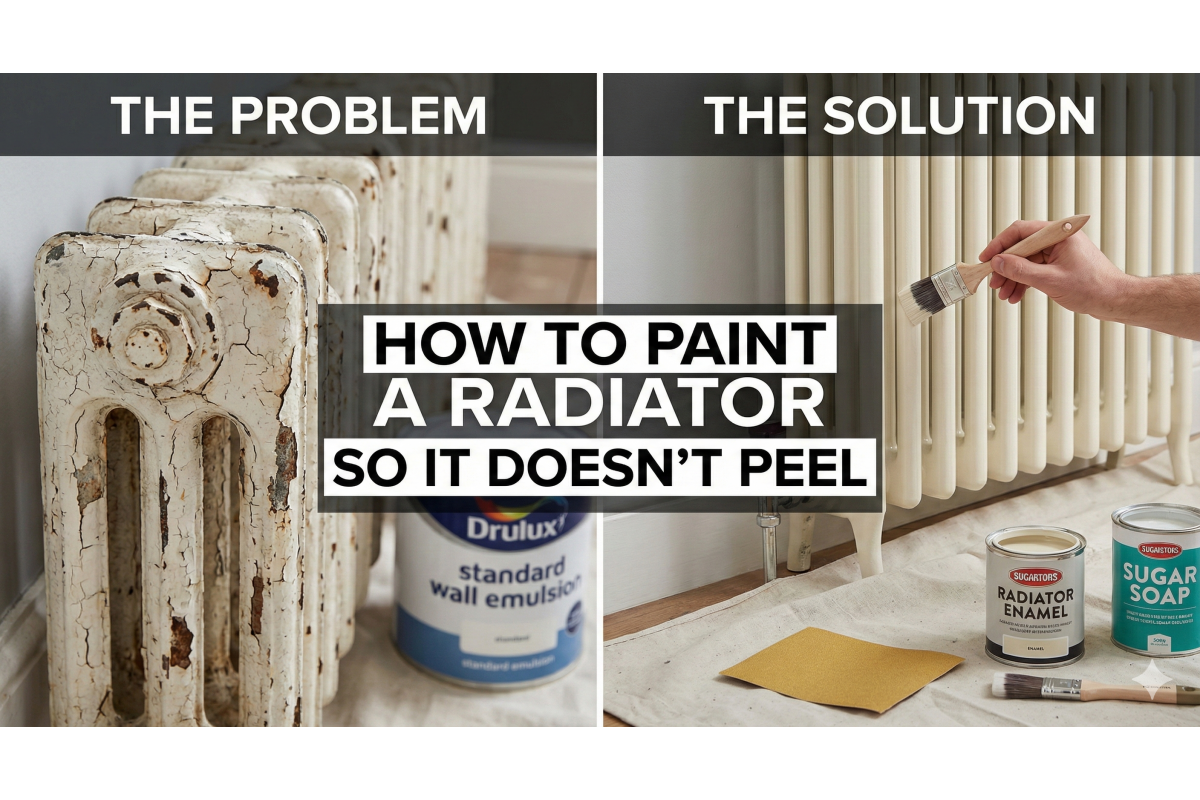
The domestic radiator is the unsung workhorse of the British home. For months it sits dormant, often ignored or hidden behind sofas, only to be called into action the moment the autumn chill sets in. It is at this precise moment when the boiler fires up for the first time in October that many homeowners discover the fatal flaw in their summer DIY projects. The pristine coat of white paint, applied with such care back in July, suddenly begins to crack, bubble, and flake away in large, unsightly sheets. It is a frustrating scenario that transforms a feature of the room into an eyesore.
The failure of radiator paint is rarely down to the quality of the paint itself, but rather a fundamental misunderstanding of the surface being painted. A radiator is not a static object like a skirting board or a plaster wall. It is a dynamic engine that breathes, moves, and changes shape. It undergoes extreme thermal cycling, expanding as it heats and contracting as it cools. This constant movement places immense mechanical stress on any coating bonded to its surface. If the preparation was rushed or the wrong materials were chosen, that bond will fail under the strain of the first heating cycle.
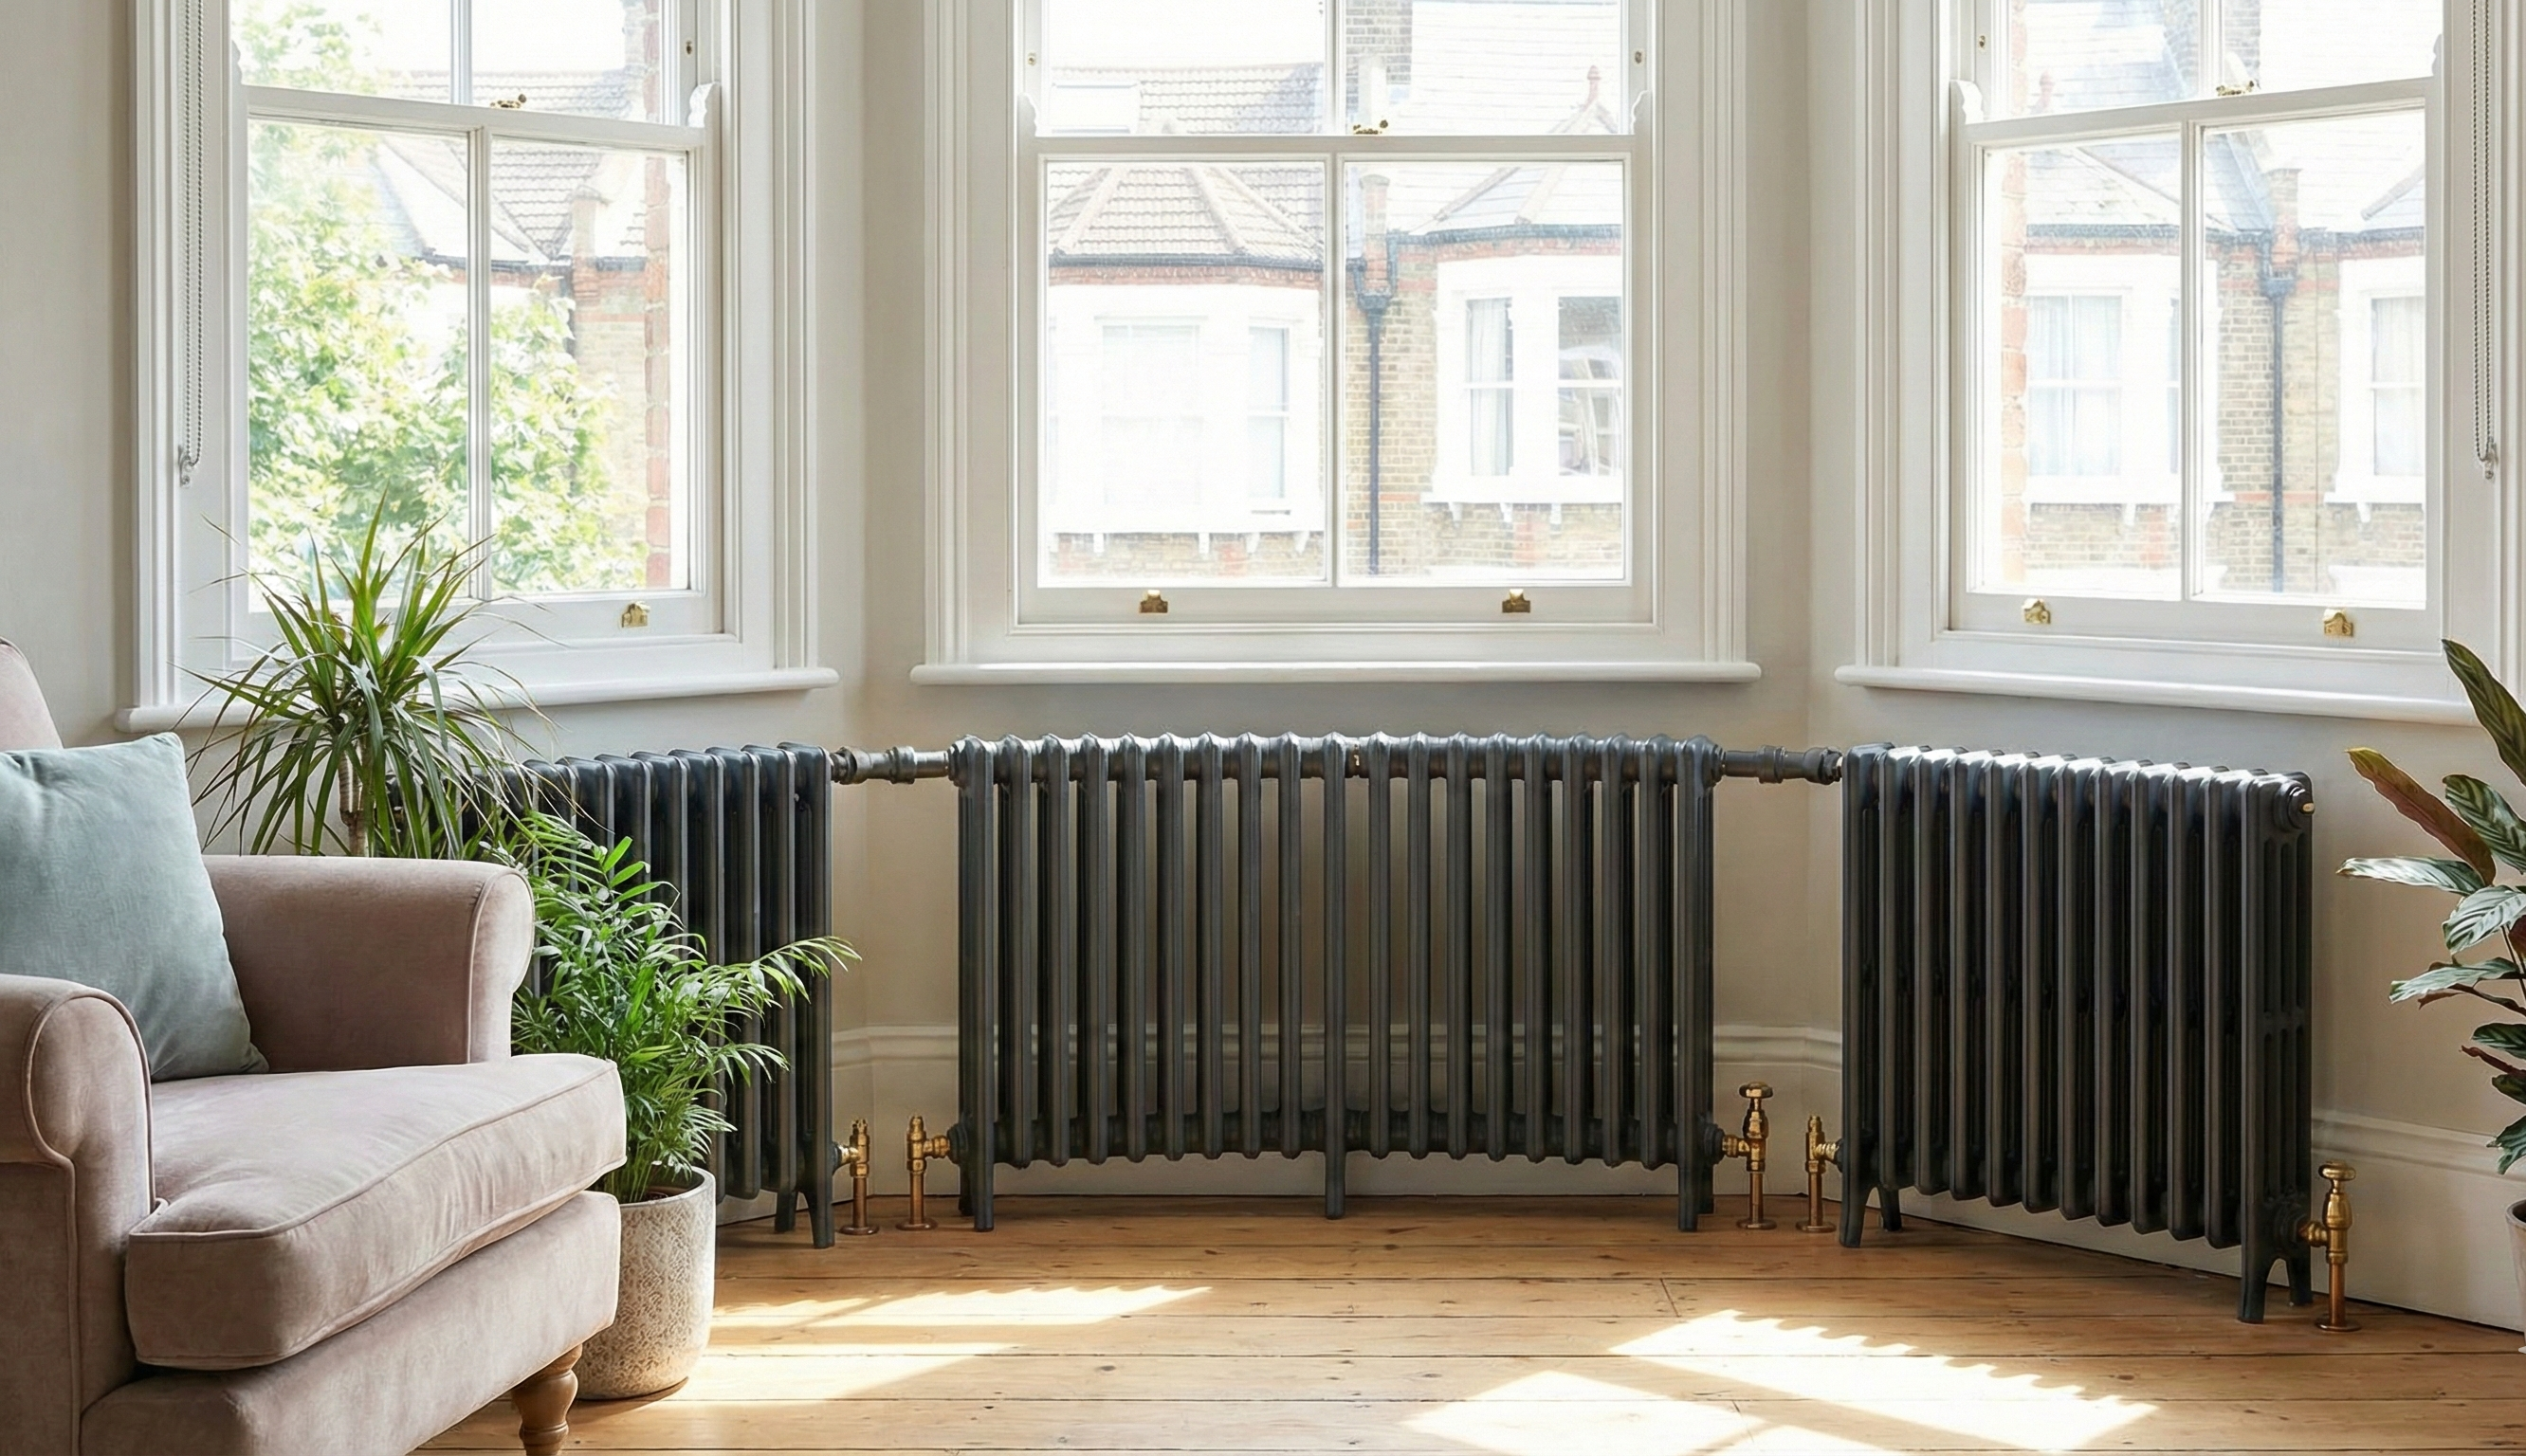
The specific challenge with modern steel heating solutions lies in their rapid response to temperature changes. Unlike the heavy cast iron beasts of the Victorian era which warmed up slowly, modern cornel column Radiators are engineered from high-grade mild steel to conduct heat efficiently and quickly. This rapid thermal cycle creates a "shock" effect on any coating applied to the surface. If the paint you have chosen lacks the necessary elasticity to expand and contract in unison with the steel, the bond will inevitably break, leading to the microscopic fractures that eventually grow into unsightly peeling flakes.
Why Do Radiators Peel?
To understand how to prevent peeling, we must first look at why it happens. The primary culprit is the Coefficient of Thermal Expansion (CTE). Every material expands when heated, but they do so at different rates. Mild steel expands at a specific rate when hot water rushes through it. If your paint layer is too brittle common with standard wall emulsions or old oil-based glosses it cannot stretch fast enough to keep up with the expanding metal. The result is a shear force that rips the paint away from the steel surface.
Furthermore, column radiators present a unique geometry. The deep crevices between the columns are notorious traps for dust, grease, and moisture. If you paint over a layer of dust in these "nooks and crannies," the paint never actually touches the metal; it sits on top of the dirt. When the radiator heats up, the air trapped in that dust expands, blowing the paint off the surface like a blister. To achieve a factory-quality finish that lasts for decades, you need a strategy that addresses both the cleanliness of the substrate and the flexibility of the coating.
Step 1: The Preparation Phase
You cannot simply paint over an existing radiator without preparation. If your radiator is old, it likely has layers of grime, floor polish, and cooking oils on it. Using water alone will not shift this. You must use a chemical degreaser, such as Sugar Soap. Scrub the entire unit vigorously, paying special attention to the top and bottom welds where dust collects. Once scrubbed, it is imperative to rinse the radiator with fresh water to remove the soap residue. If you leave soap on the metal, it will act as a release agent, ensuring your new paint peels off immediately.
Once clean and dry, the most critical step begins: abrasion. You must "key" the surface. A shiny, smooth surface offers no grip for the new paint. You need to create millions of microscopic scratches that the new paint can flow into and lock onto. Use 120-grit sandpaper for this task. You don't need to strip the radiator back to bare metal unless the old paint is already flaking, but you must remove the sheen. The surface should look matte and dull before you even open a tin of paint.
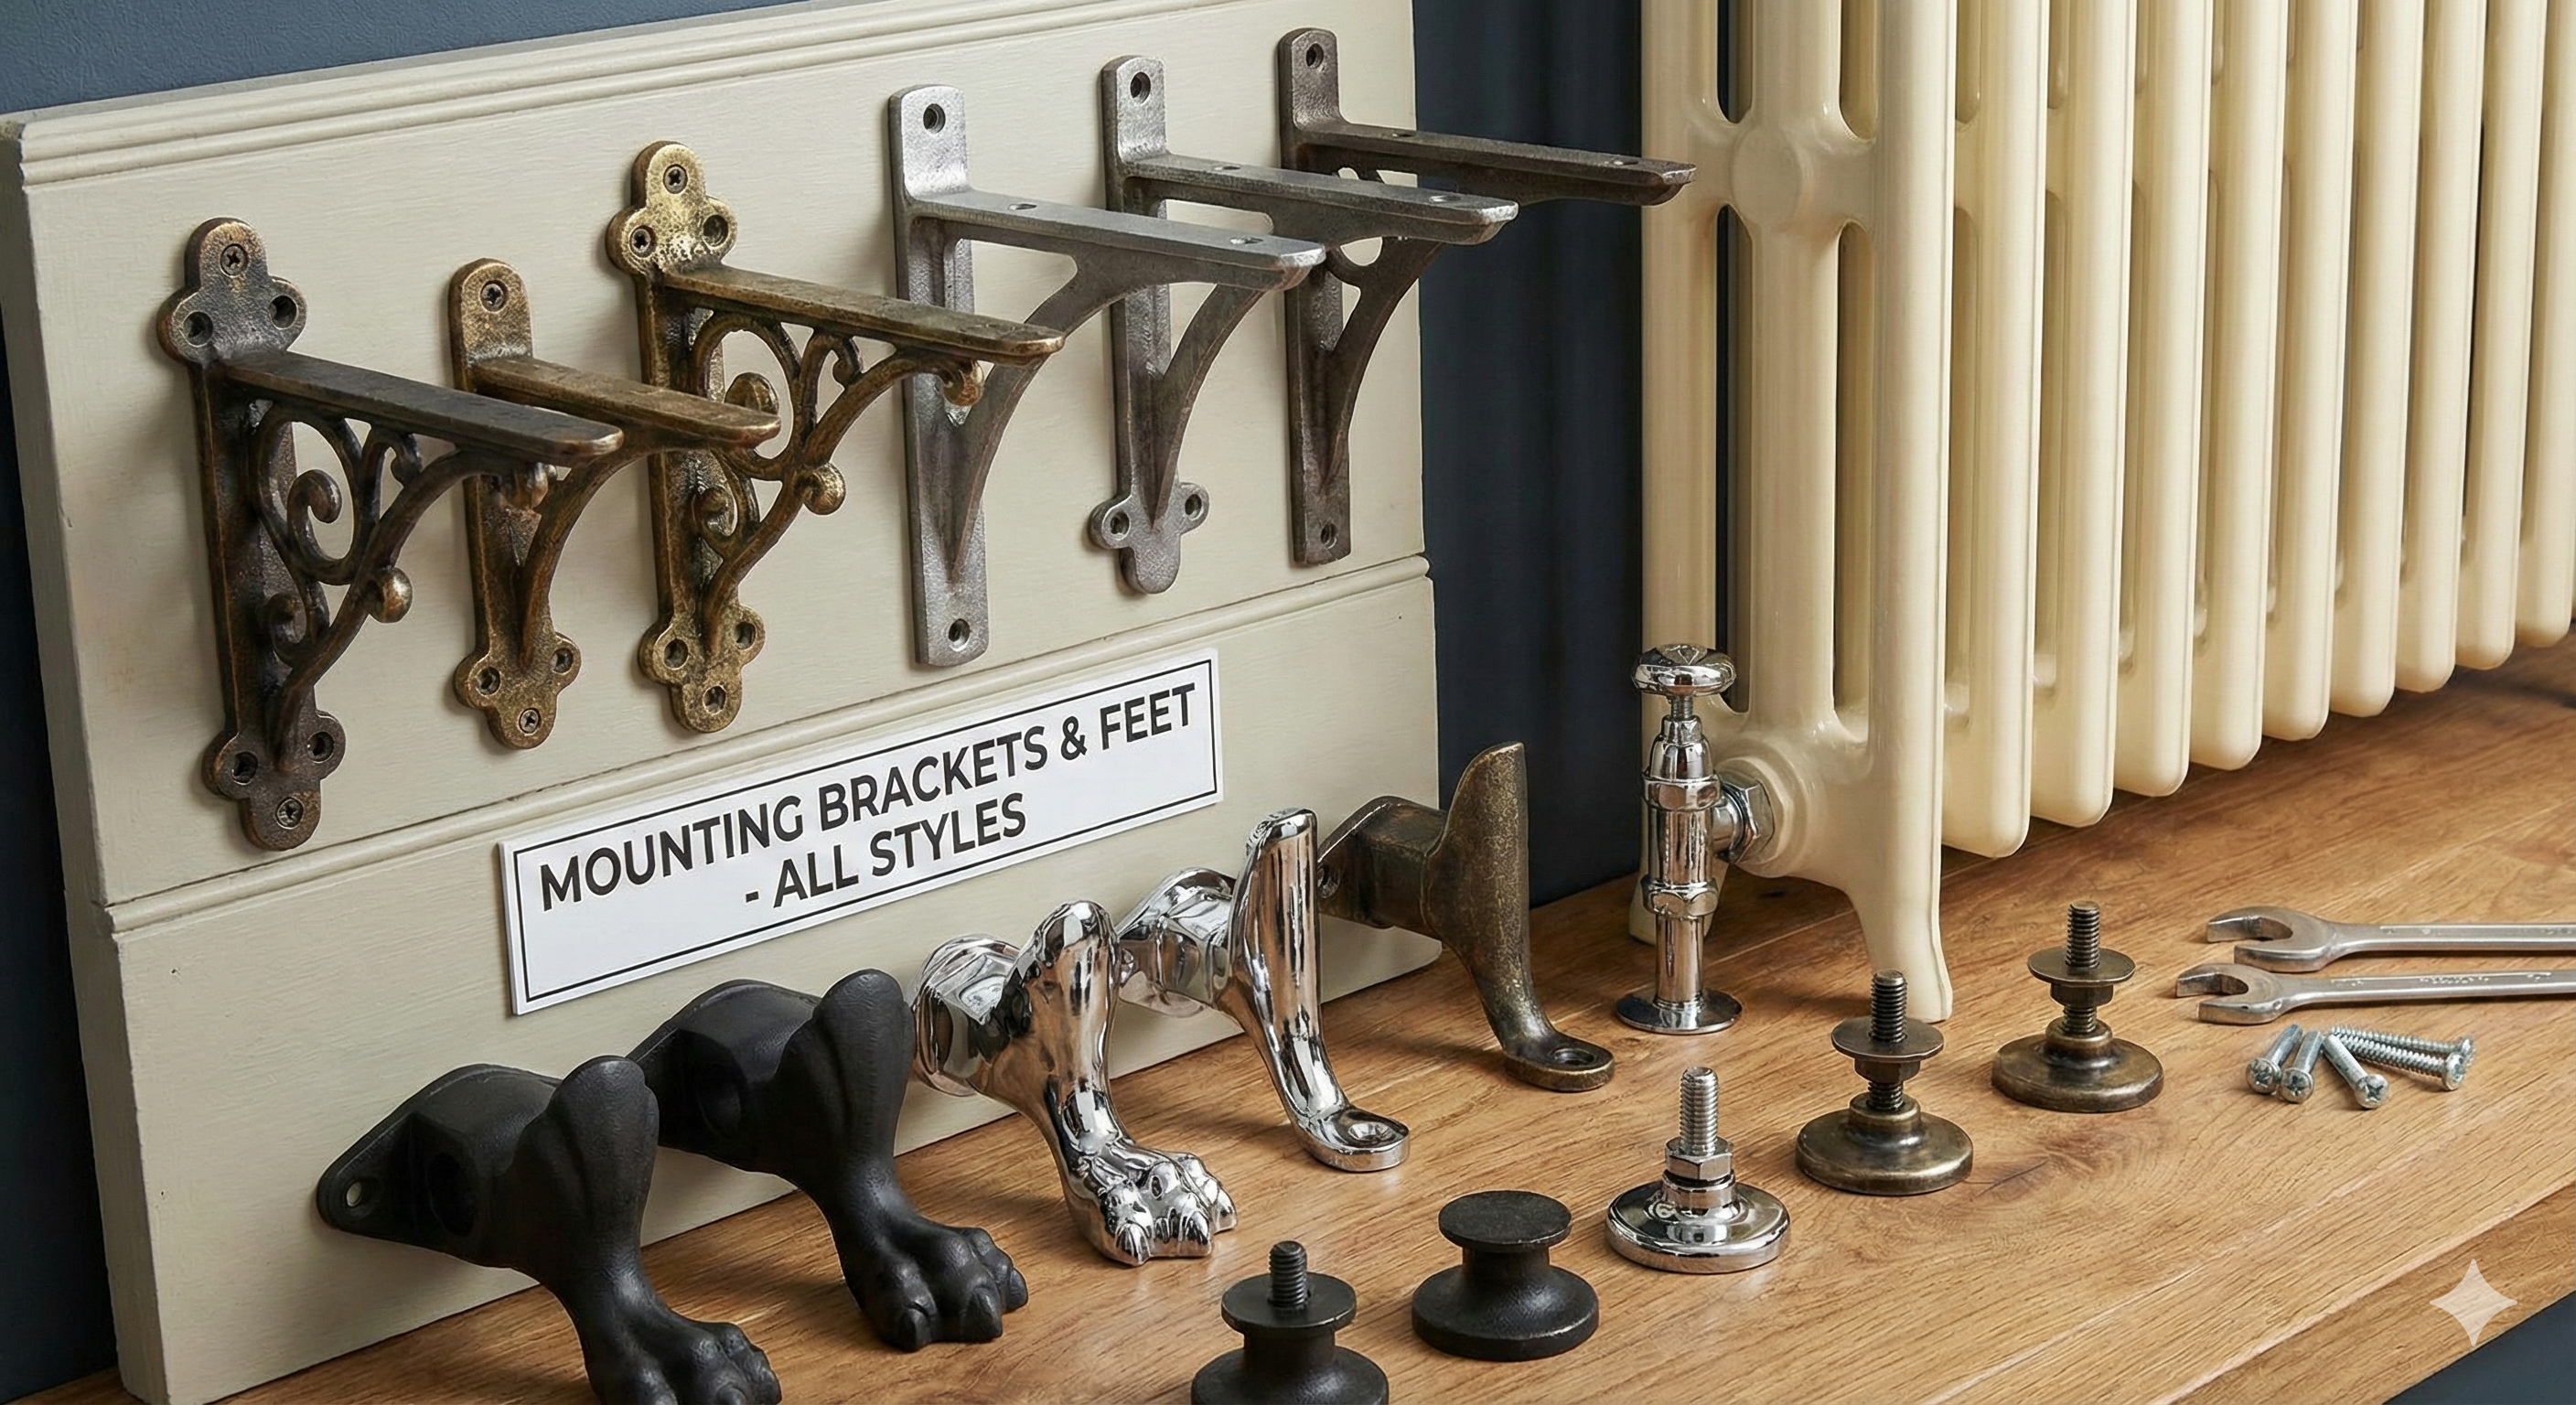
If you are dealing with a complex installation or need to access the back of the radiator thoroughly, it is often best to remove the unit from the wall entirely. This allows you to turn it upside down and reach areas that are otherwise impossible to clean.
Step 2: Choosing the Right Chemistry
The biggest mistake homeowners make is using standard emulsion paint. Emulsion is designed for plaster, not hot metal. It softens at temperatures above 40°C. Since a central heating system can easily reach 70°C, emulsion will turn soft and gummy, attracting dust and eventually cracking.
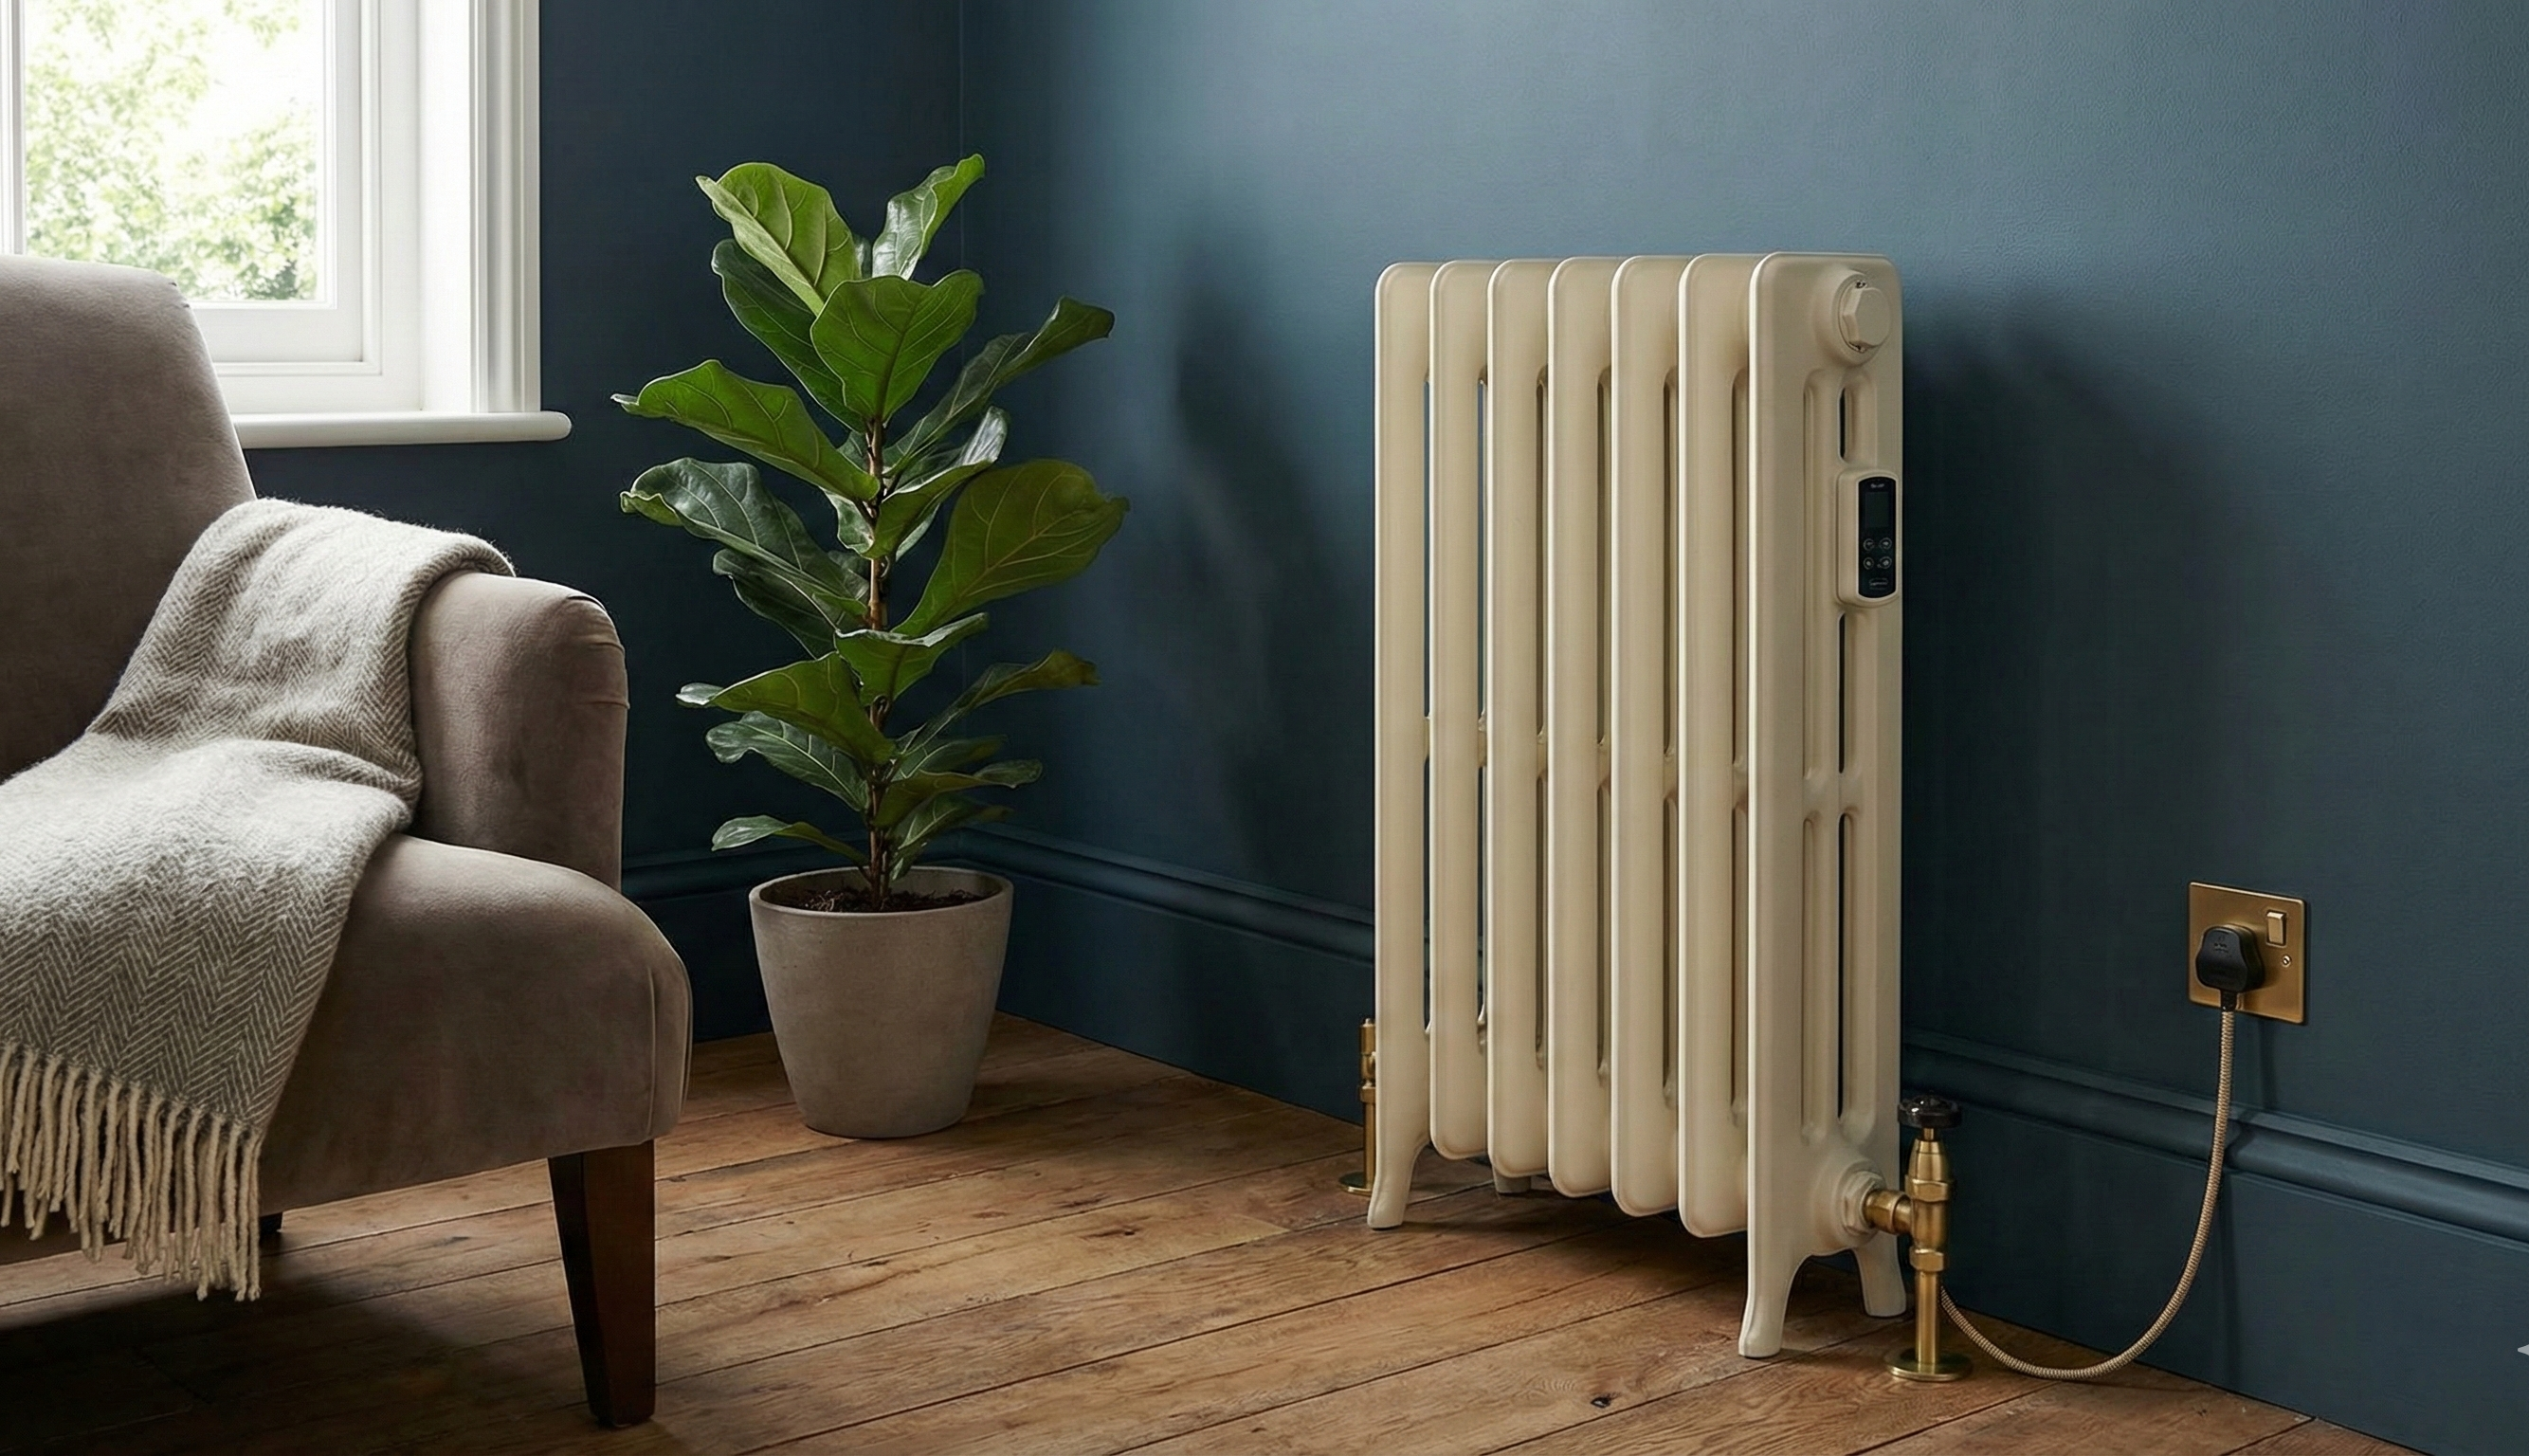
For a finish that endures, you have two primary options: solvent-based (oil) or water-based acrylic enamel. Historically, oil-based paints were the standard. They provided a hard, shell-like finish. However, white oil-based gloss has a major drawback: it yellows over time. The heat from the radiator accelerates the oxidation of the oil resin, turning your bright white radiator a creamy, nicotine yellow within a single winter.
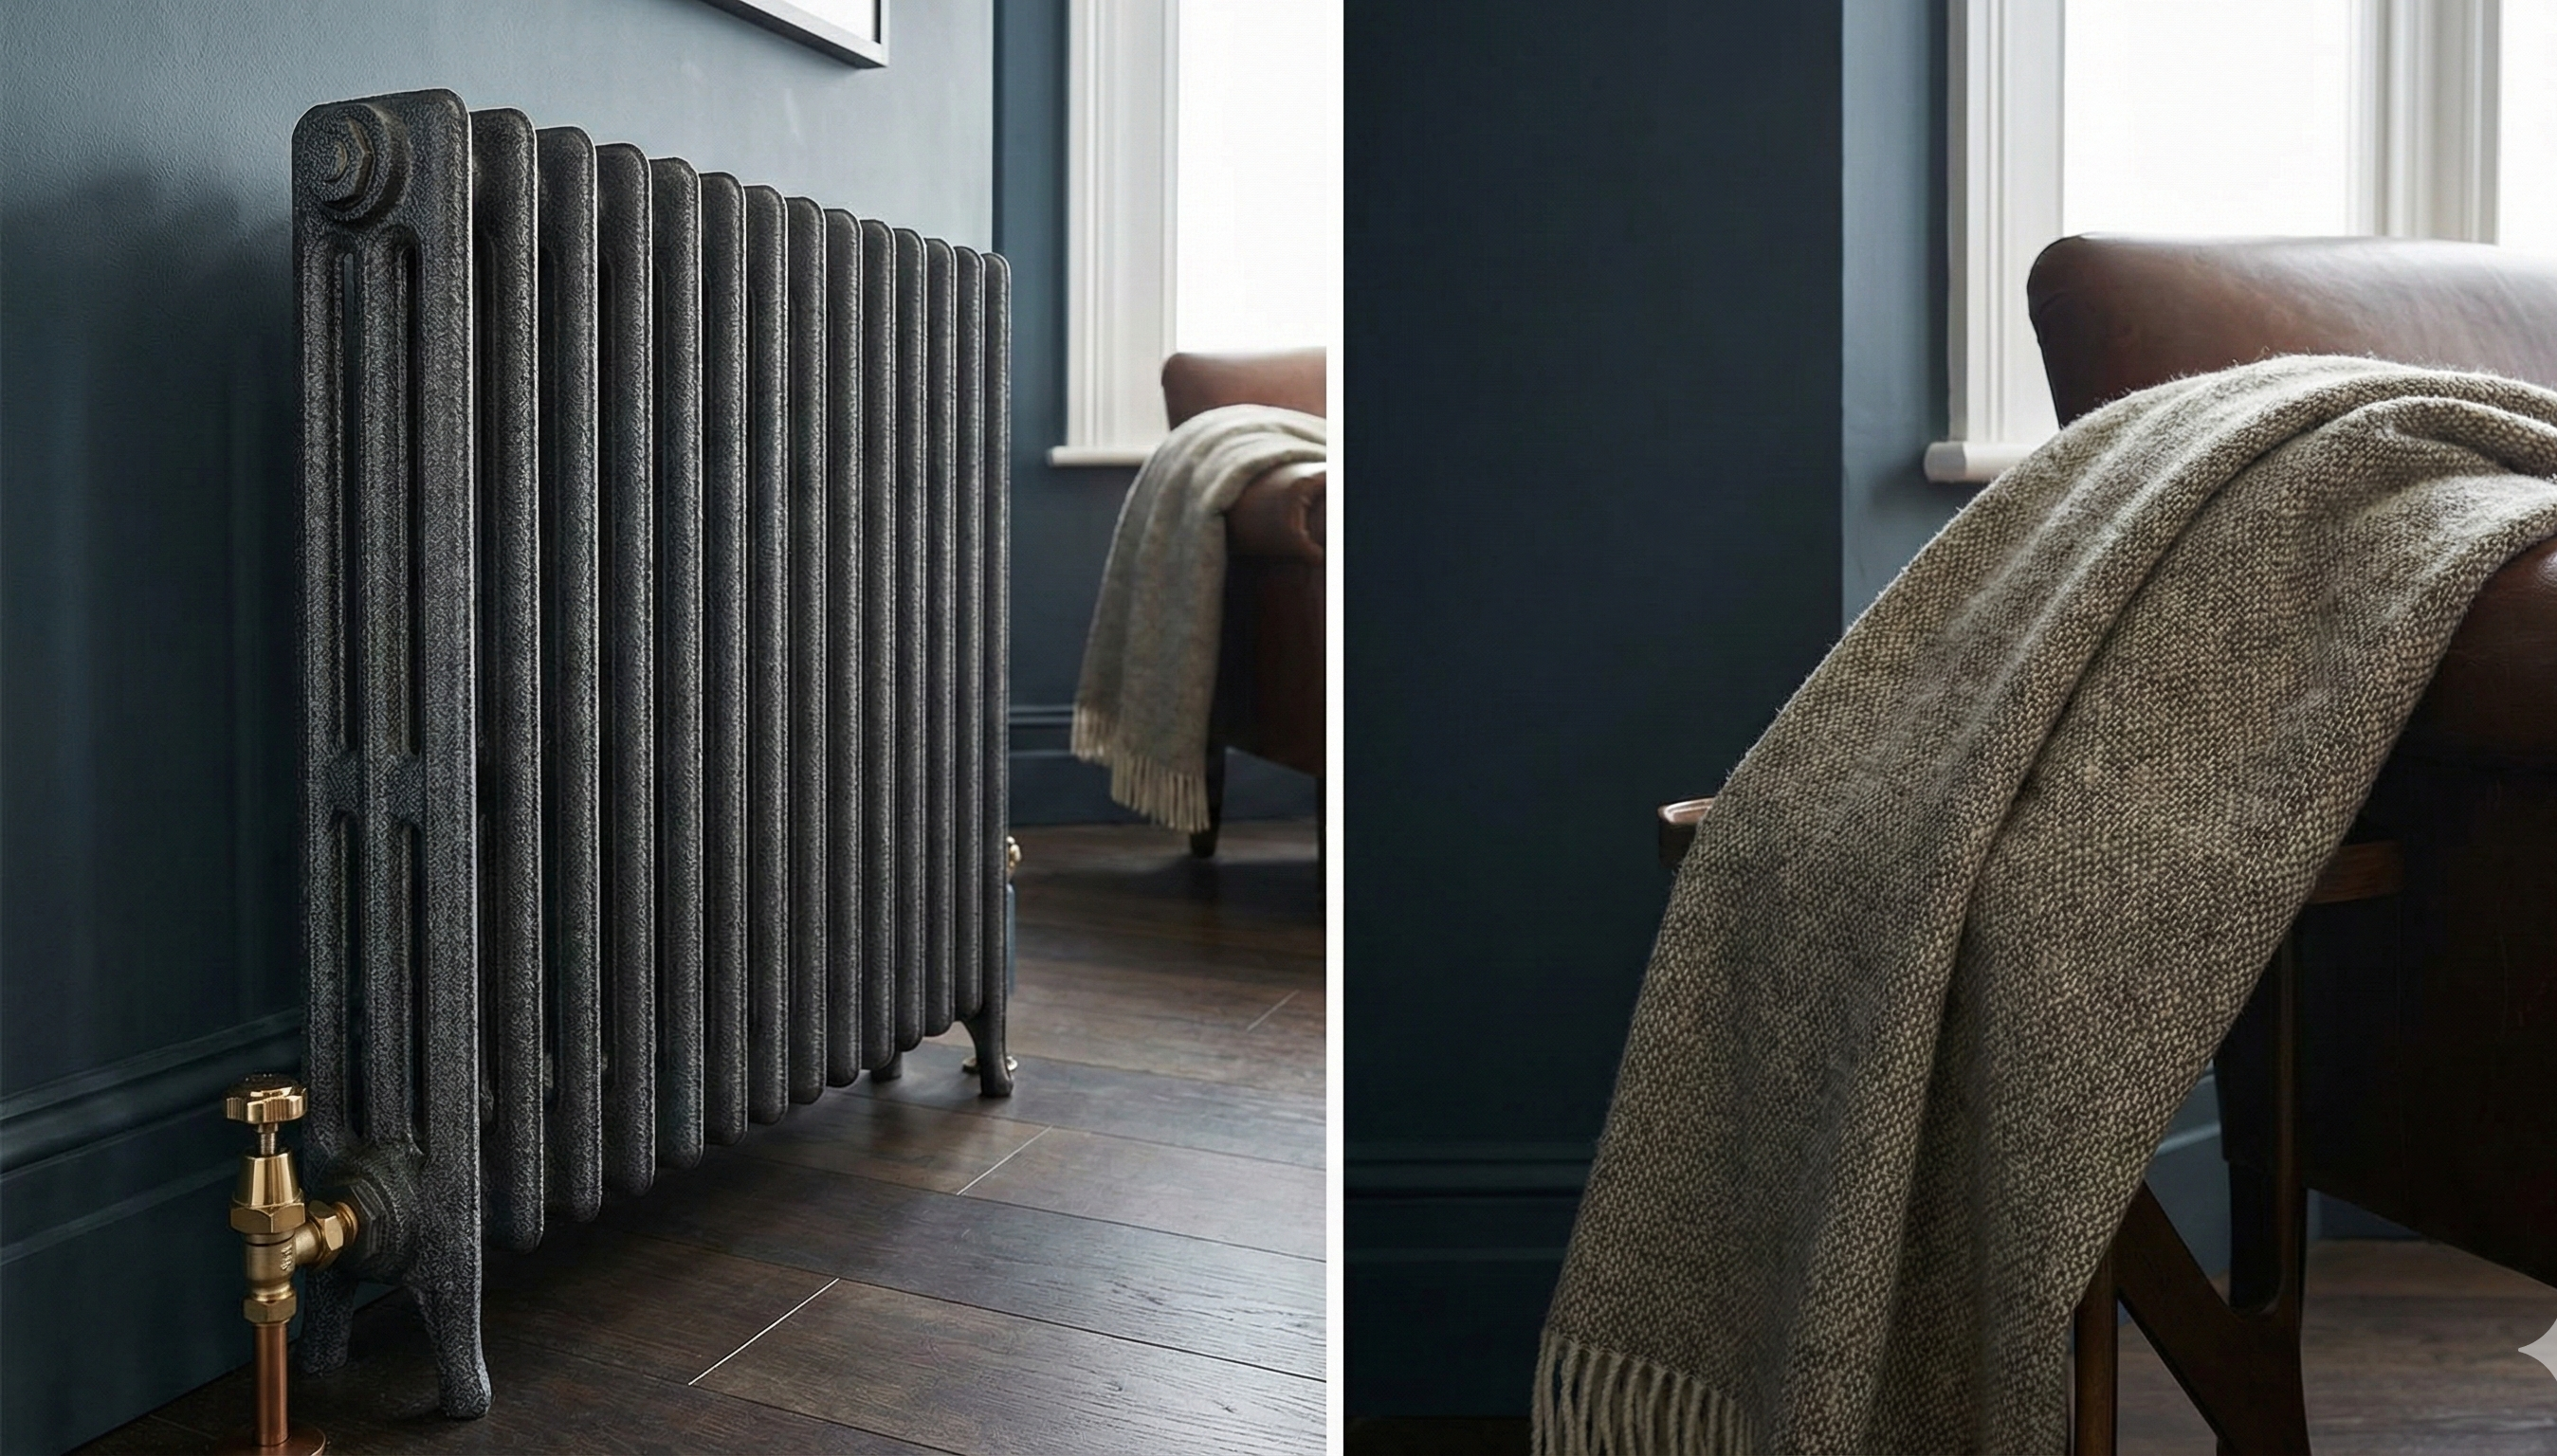
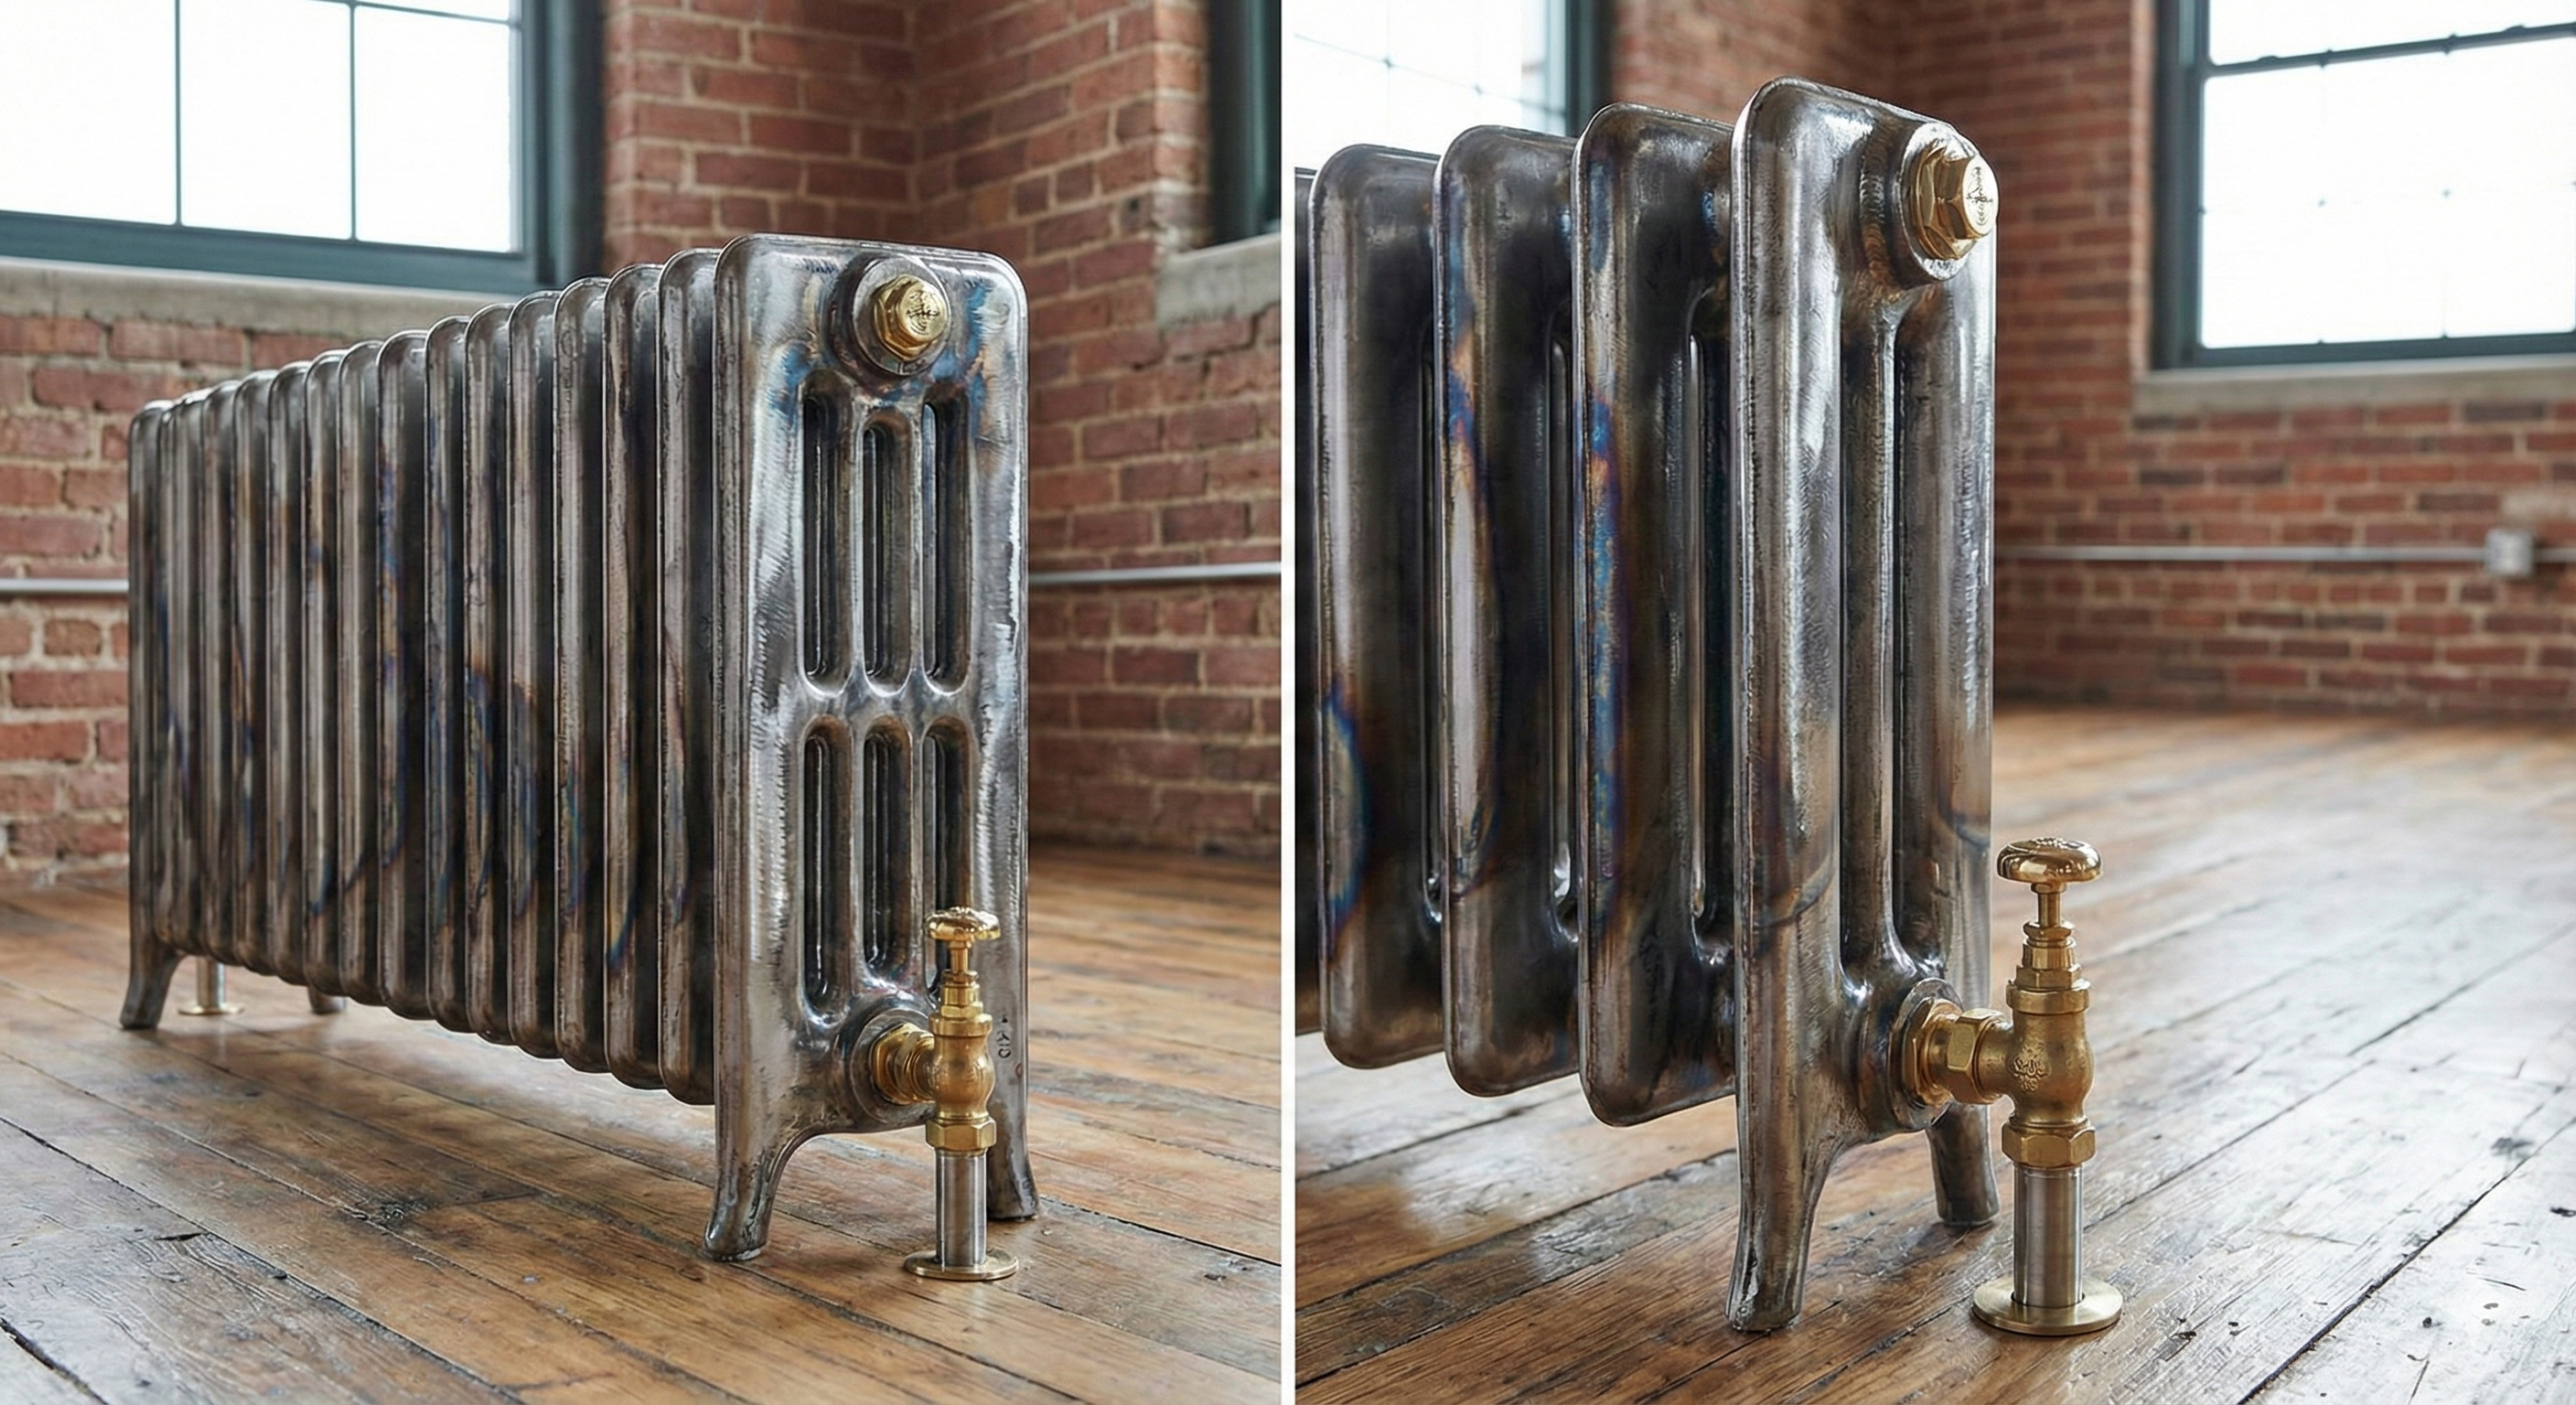
Modern water-based radiator enamels (often labeled as "Satinwood" or dedicated "Radiator Paint") are superior for white finishes. They do not yellow, they are flexible enough to handle the thermal expansion of the mild steel, and they dry quickly. If you are aiming for a darker, industrial look, however, you might consider leaving the paint off entirely or using a clear lacquer to show off the raw steel.
Step 3: The Application Technique
Painting a column radiator is more art than science. The cylindrical shapes of the Cornel range mean you cannot simply roll the paint on. You need a high-quality synthetic brush, preferably an angled sash brush, to get into the gaps between the columns. Do not overload the brush. Thick layers of paint are the enemy. A thick layer dries on the surface while remaining wet underneath (known as "skinning"). When the radiator heats up, the trapped solvents boil and cause blistering.
Apply the paint in thin, even coats. Start from the back and the difficult-to-reach areas first, working your way to the front face. This prevents you from leaning over wet paint to reach a missed spot. Always finish with vertical strokes that follow the line of the column to minimise brush marks. If you have a radiator with a unique shape, such as a curved bay window model, take extra care to ensure the paint doesn't pool in the curves.
Step 4: The Critical Curing Process
This is where 90% of failures occur. You have prepped well, painted beautifully, and the radiator looks brand new. The next morning, it's chilly, so you turn the heating on. Do not do this.
Paint needs time to cure, not just dry. Drying is the evaporation of water or solvent; curing is the chemical hardening of the resin. If you heat the paint before it has cured, you interrupt the chemical bonding process. The paint will remain soft and is liable to peel instantly. You must leave the radiator cold for at least 24 to 48 hours after the final coat. When you do finally turn it on, do not blast it to full temperature. Bring it up to temperature gradually over a few hours to allow the paint film to "temper" and relax into the expanded metal surface.
If the process of painting seems too daunting, or if you require a heating solution that doesn't rely on your central heating system perhaps for a conservatory or an extension electric options can save you the hassle of plumbing and painting entirely.
Functional Design: More Than Just Heat
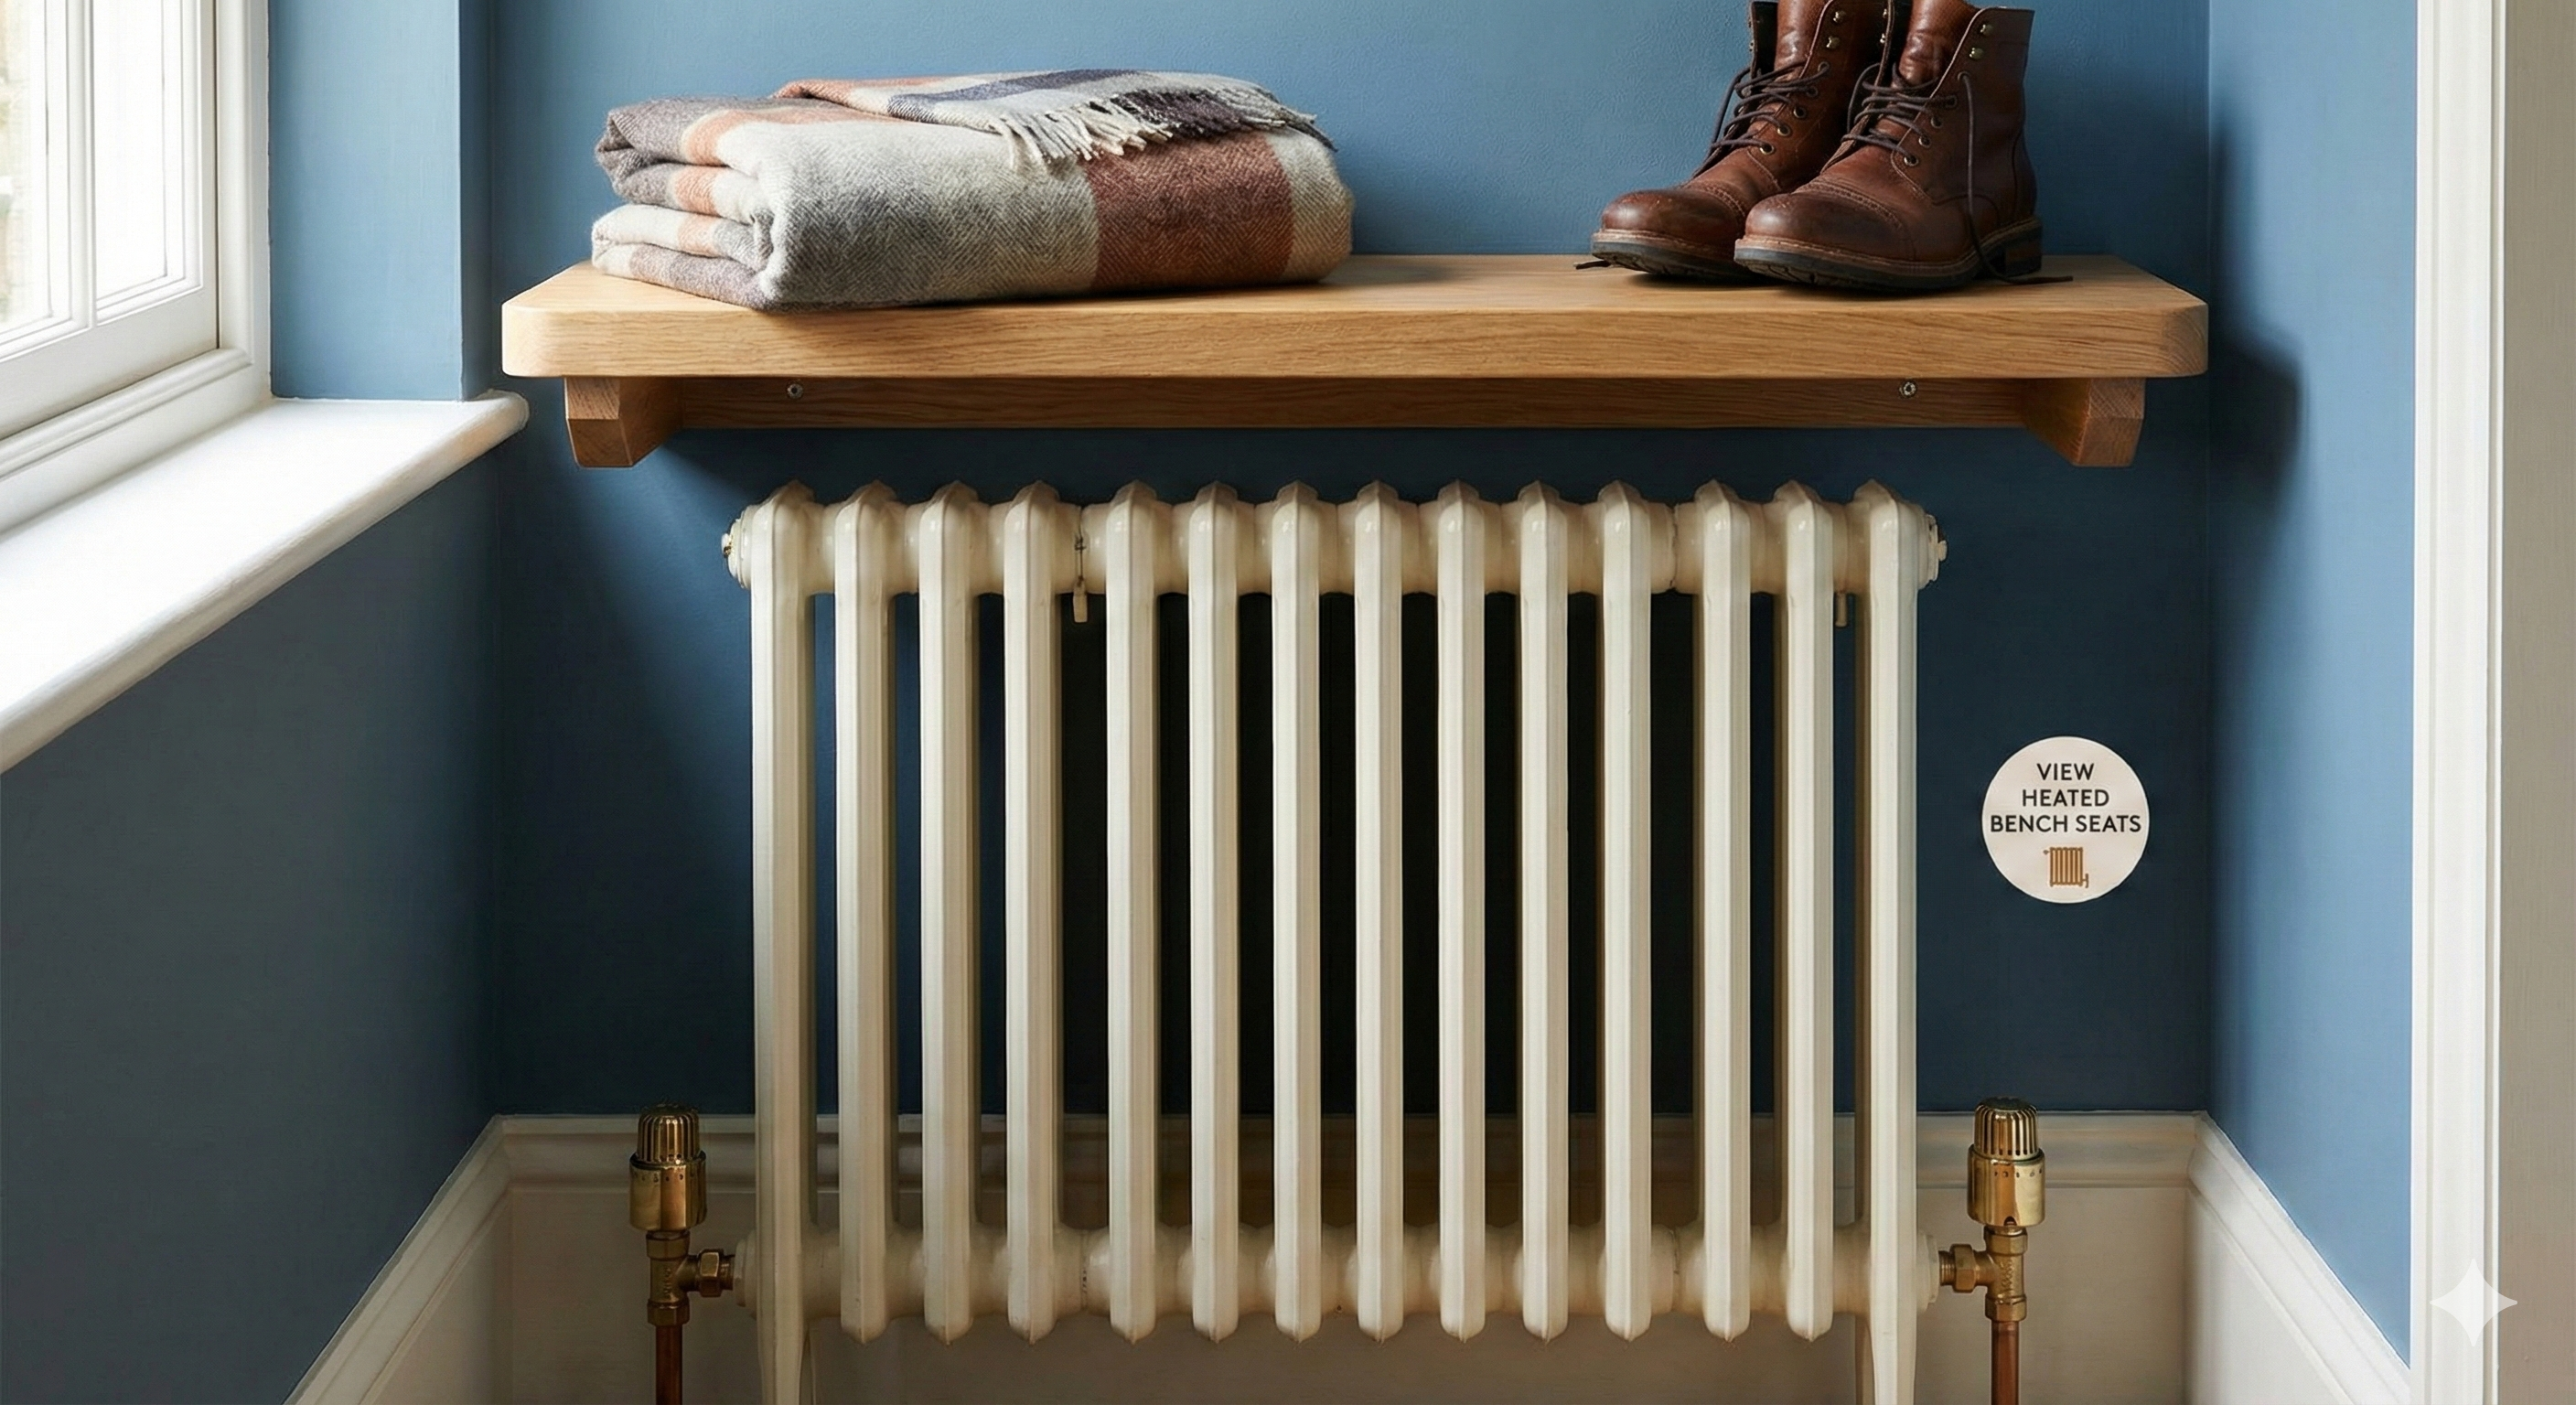
While restoring an old radiator is satisfying, sometimes the best solution is an upgrade that adds functionality to your space. The classic column design is robust enough to support more than just itself. By integrating seating into the heating element, you can transform a cold hallway into a warm, welcoming entrance.
If you are looking to replace rather than restore, consider how the radiator interacts with the room. A bench radiator, for example, provides a practical seating area while heating the space, perfect for drying boots in a utility room or putting on shoes in a hallway.
Conclusion
Painting an old radiator is a project that rewards patience. The difference between a job that peels in a week and one that lasts for ten years is entirely down to the preparation. By respecting the physics of the metal cleaning it thoroughly, sanding it to create a key, applying thin coats of flexible radiator enamel, and allowing it to cure slowly you can achieve a professional finish.
Remember, the goal is not just to change the colour, but to create a durable surface that can withstand the rigours of the British winter. Whether you choose to restore your existing steel columns or upgrade to a factory-finished Cornel model, the result should be a warm, stylish home that you can be proud of. Take your time, follow the steps, and don't rush the heat.